More people are working on their laptops than ever before thanks to the rising popularity of hybrid working. Due to this, more companies are going paperless and opting to communicate using online services.
If you frequently use Google Docs and want to start adding your signature to certain documents, then make sure you keep reading, as we’re going to be walking you through the process in this simple step-by-step guide.
Here is how you can create your own digital signature in Google Docs in just a few simple steps.
What you’ll need:
- Access to Google Docs
- A desktop/laptop, phone or tablet
The Short Version
- Open a page in Google Docs
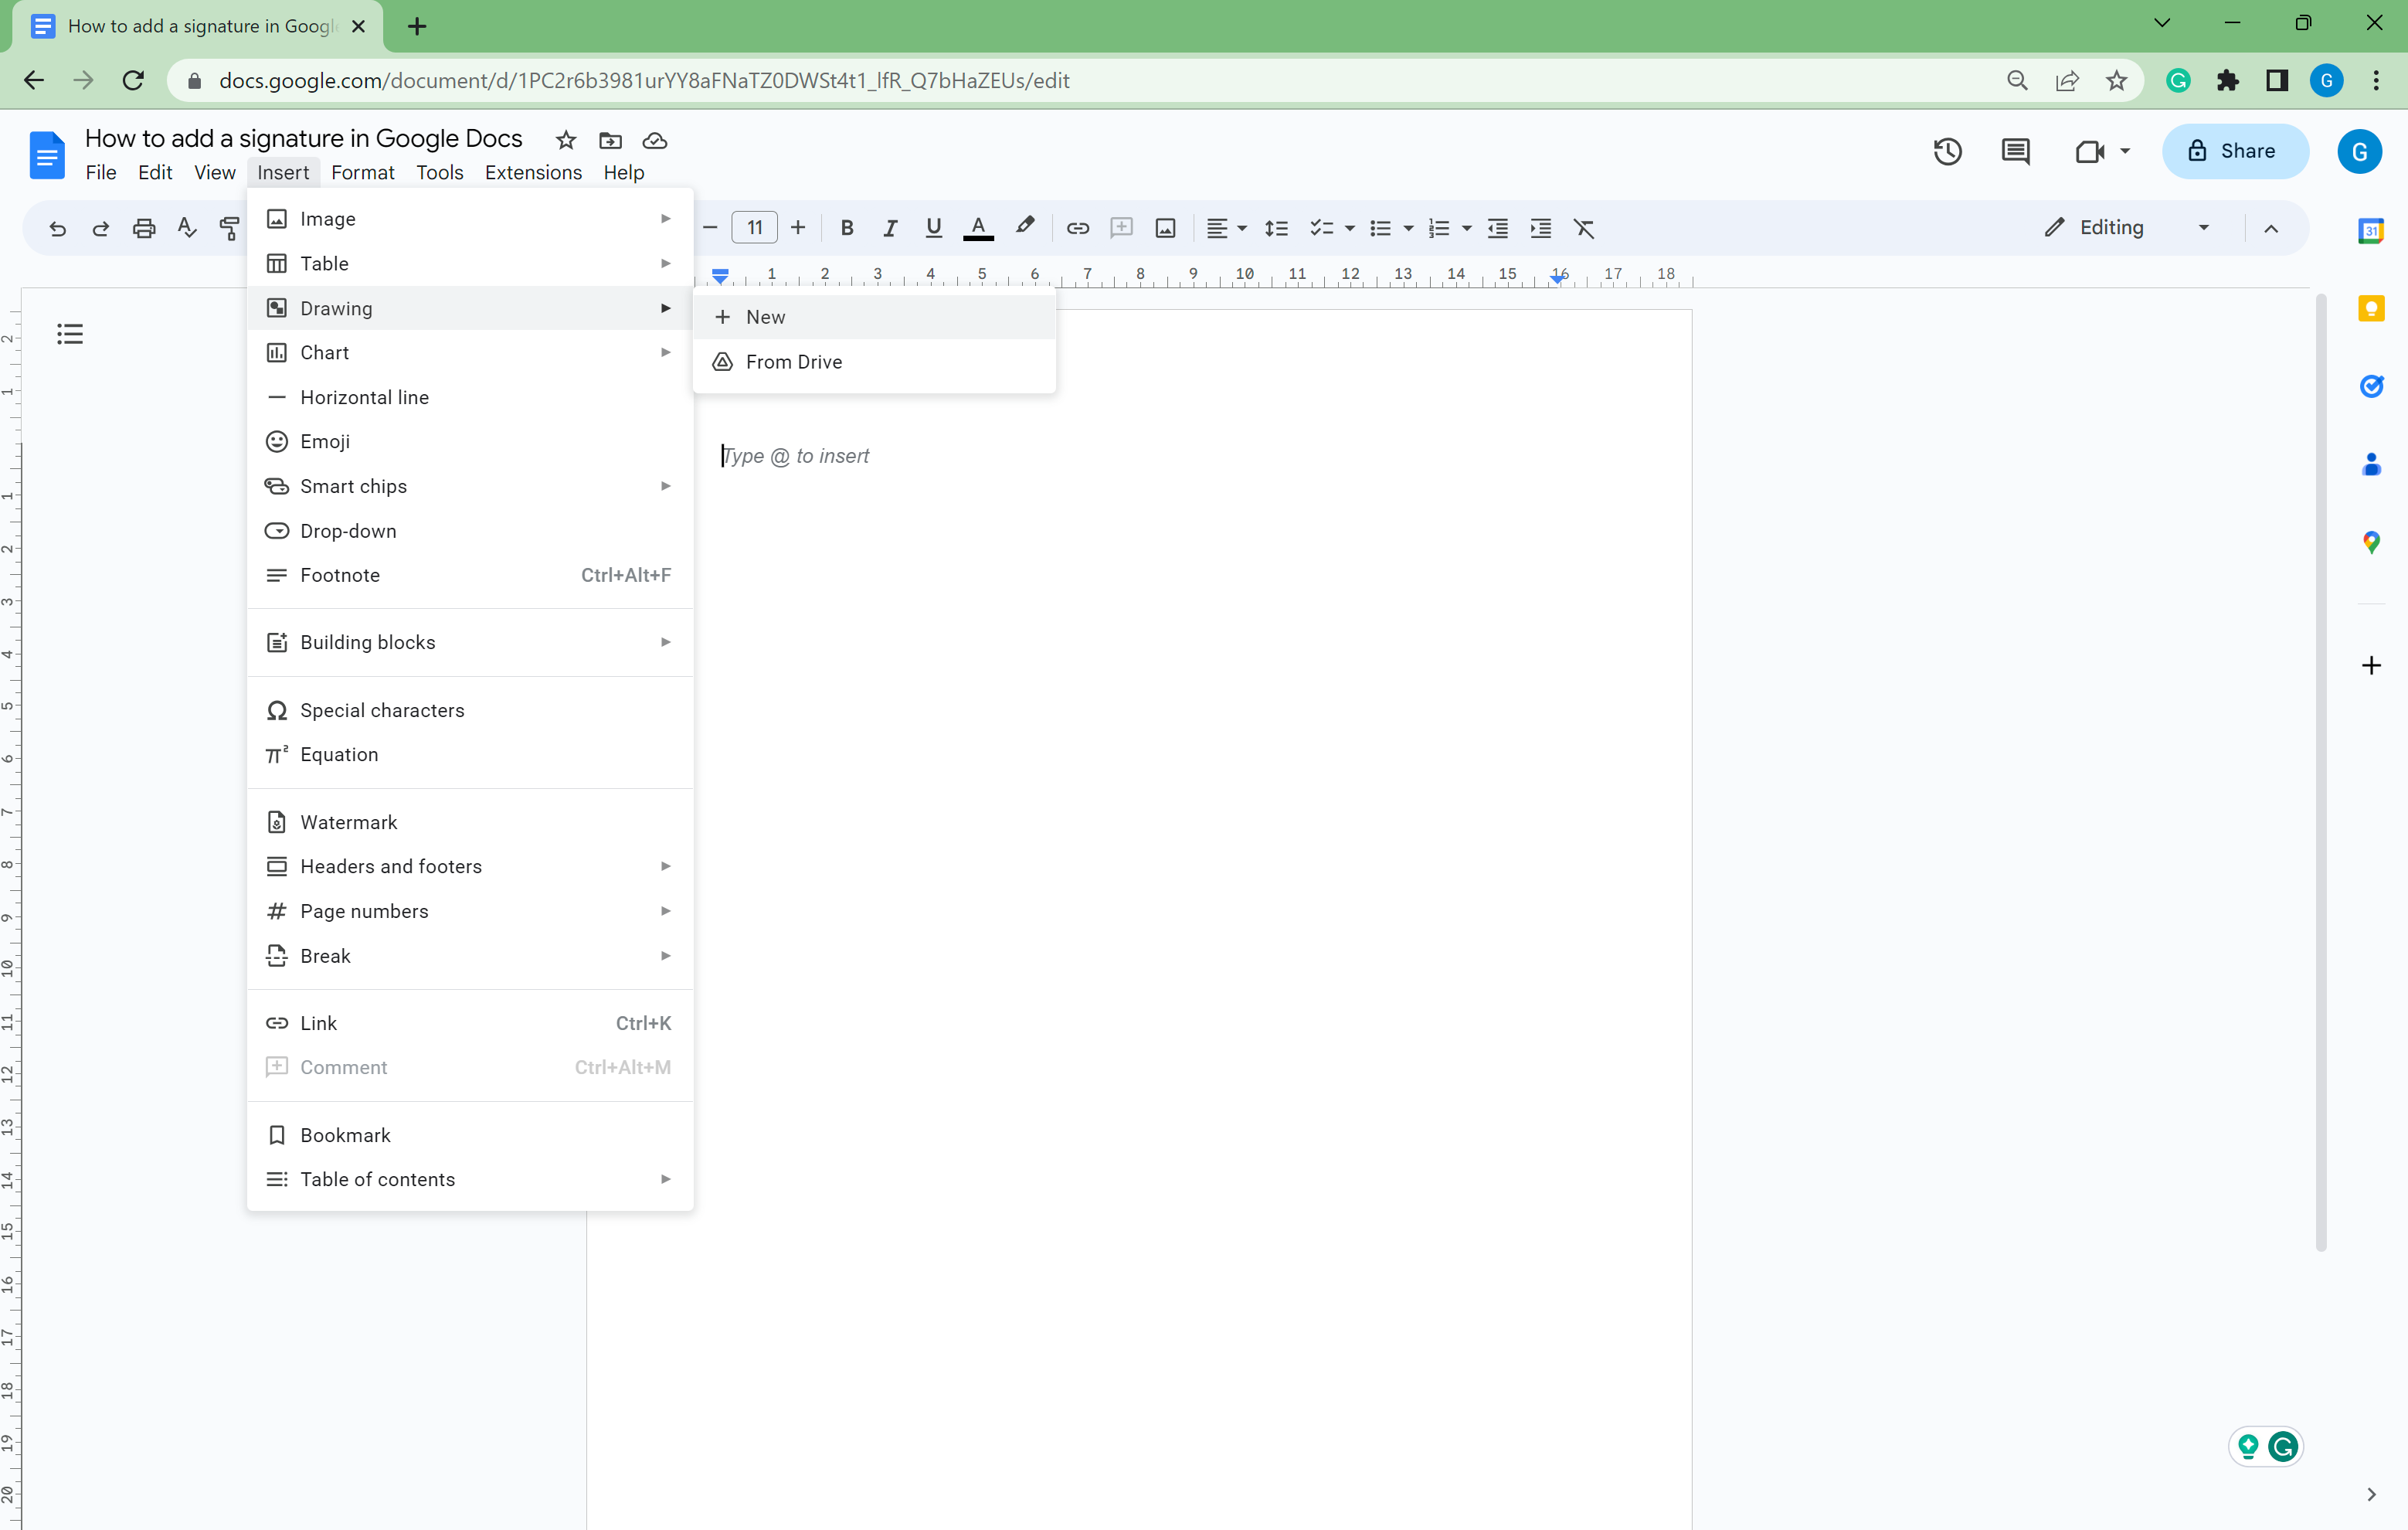
- Click Insert
- Go to Drawing
- Click on New
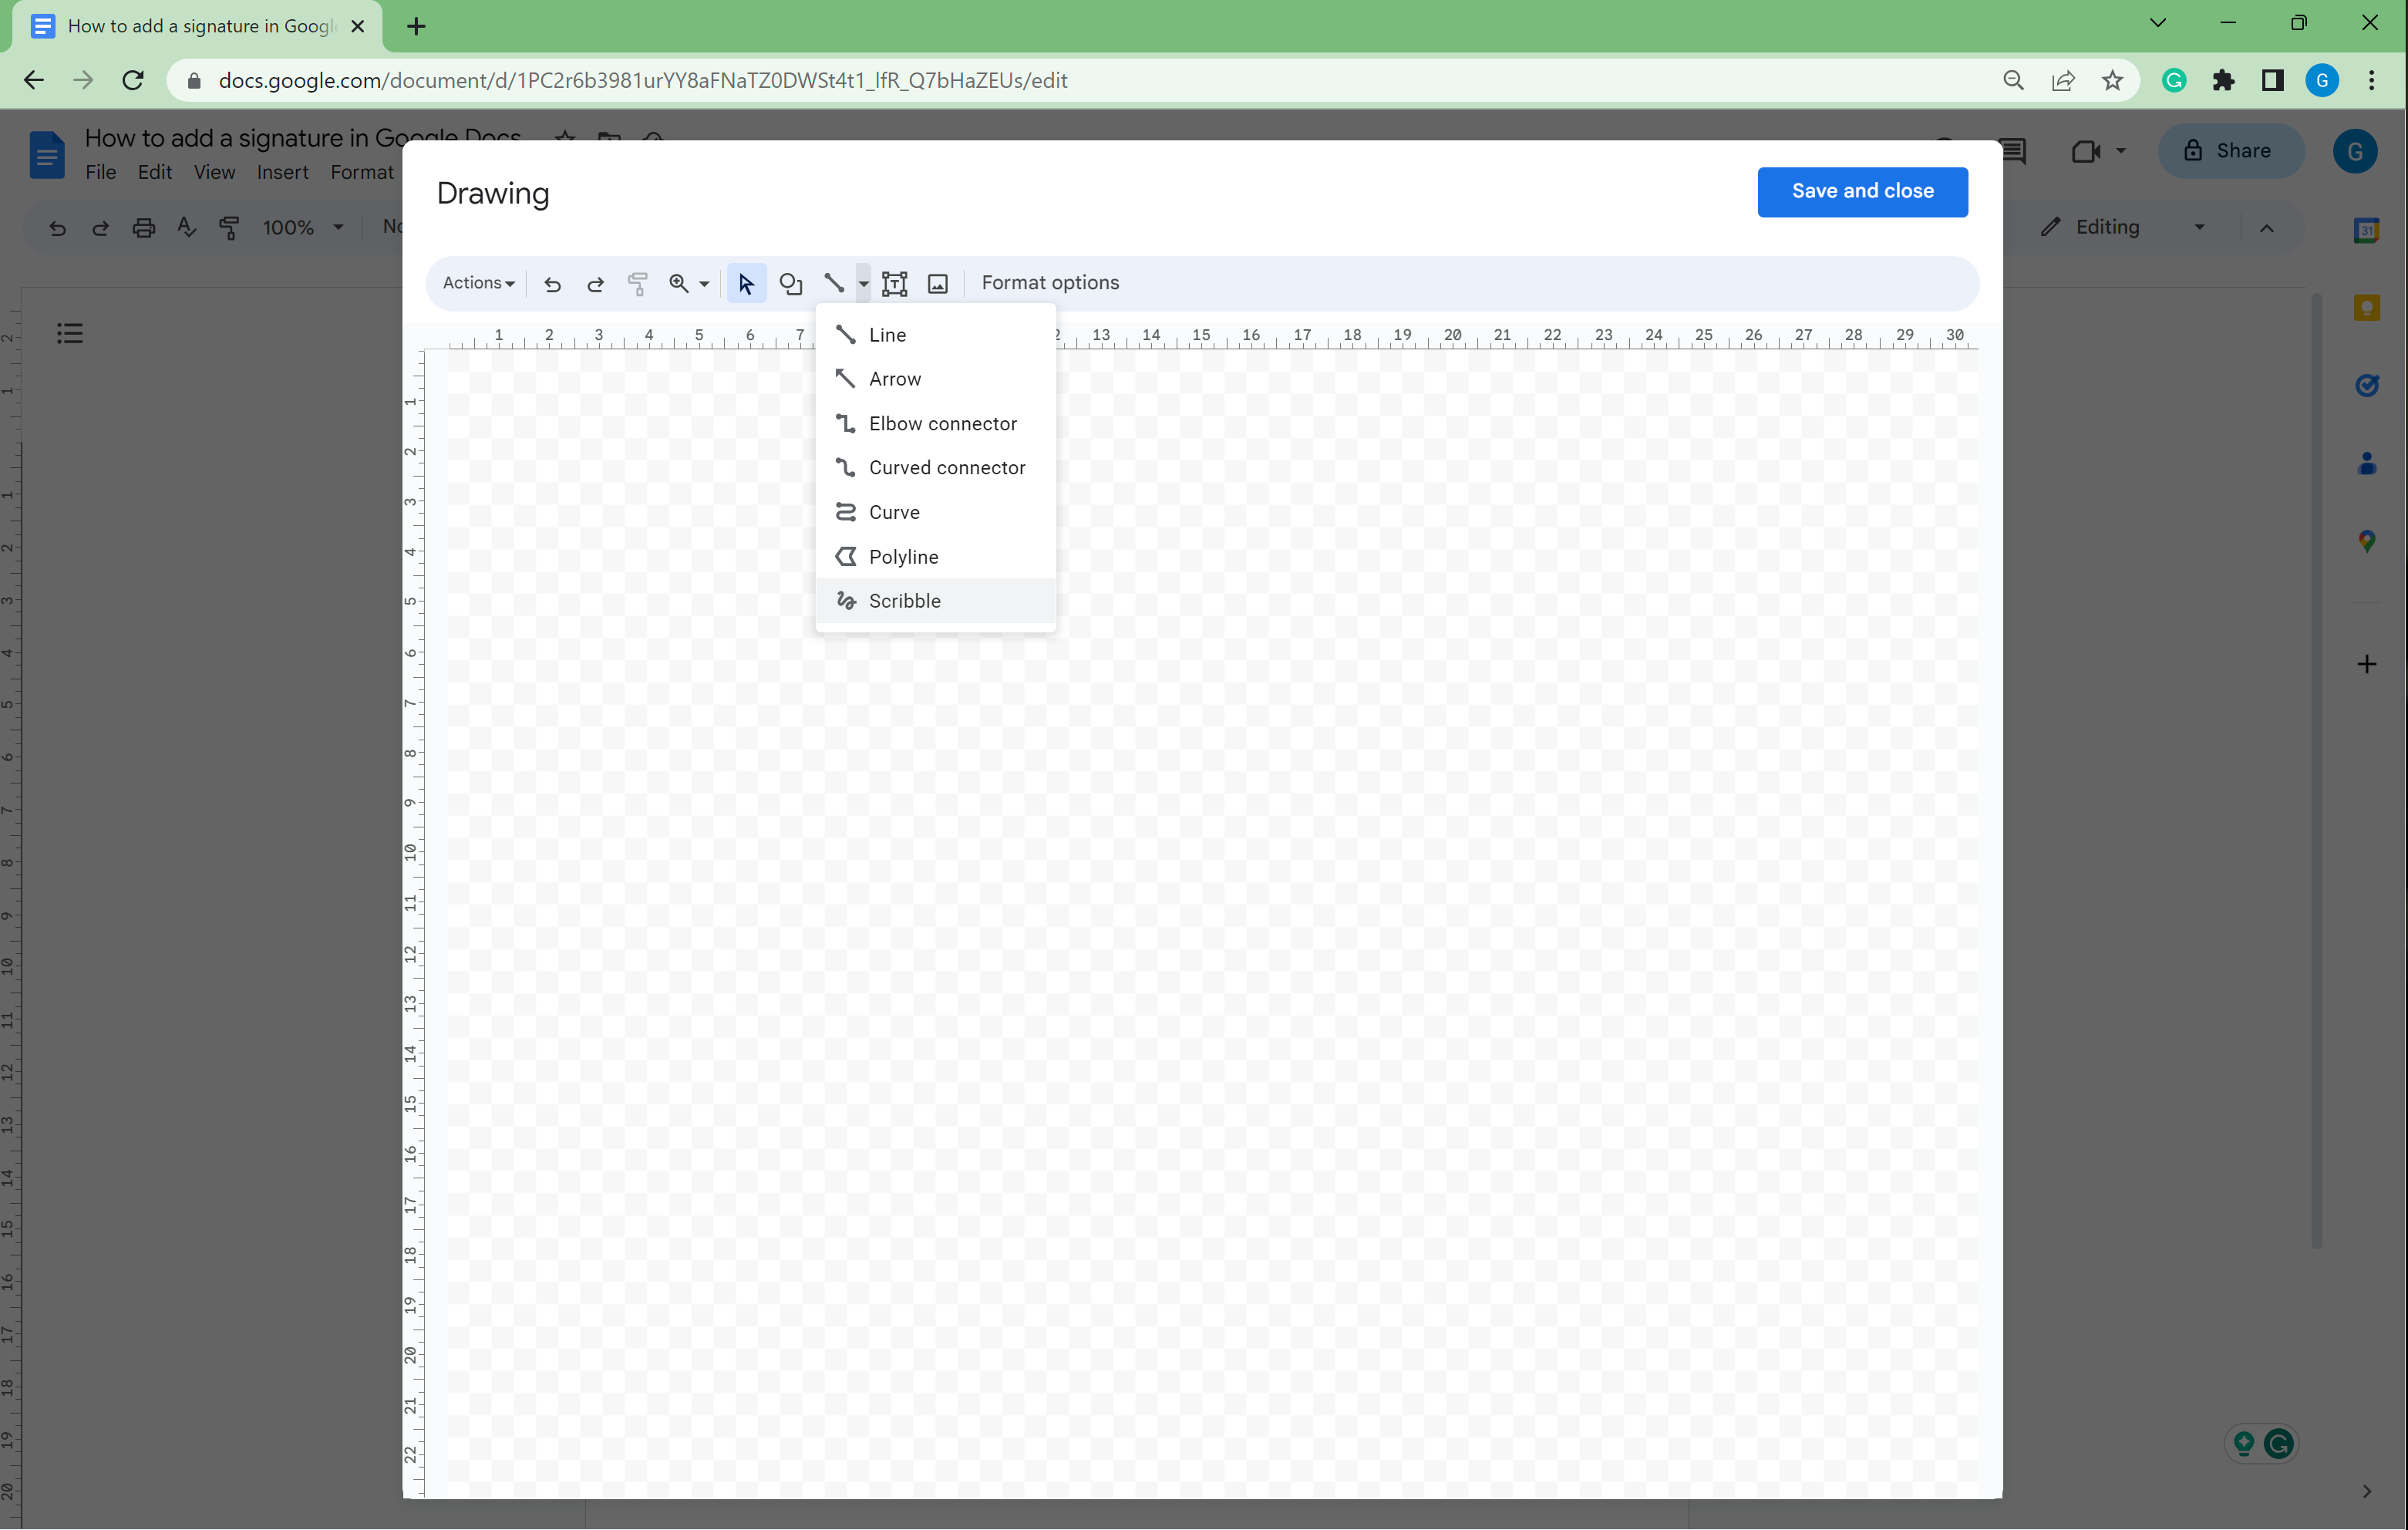
- Click on Scribble
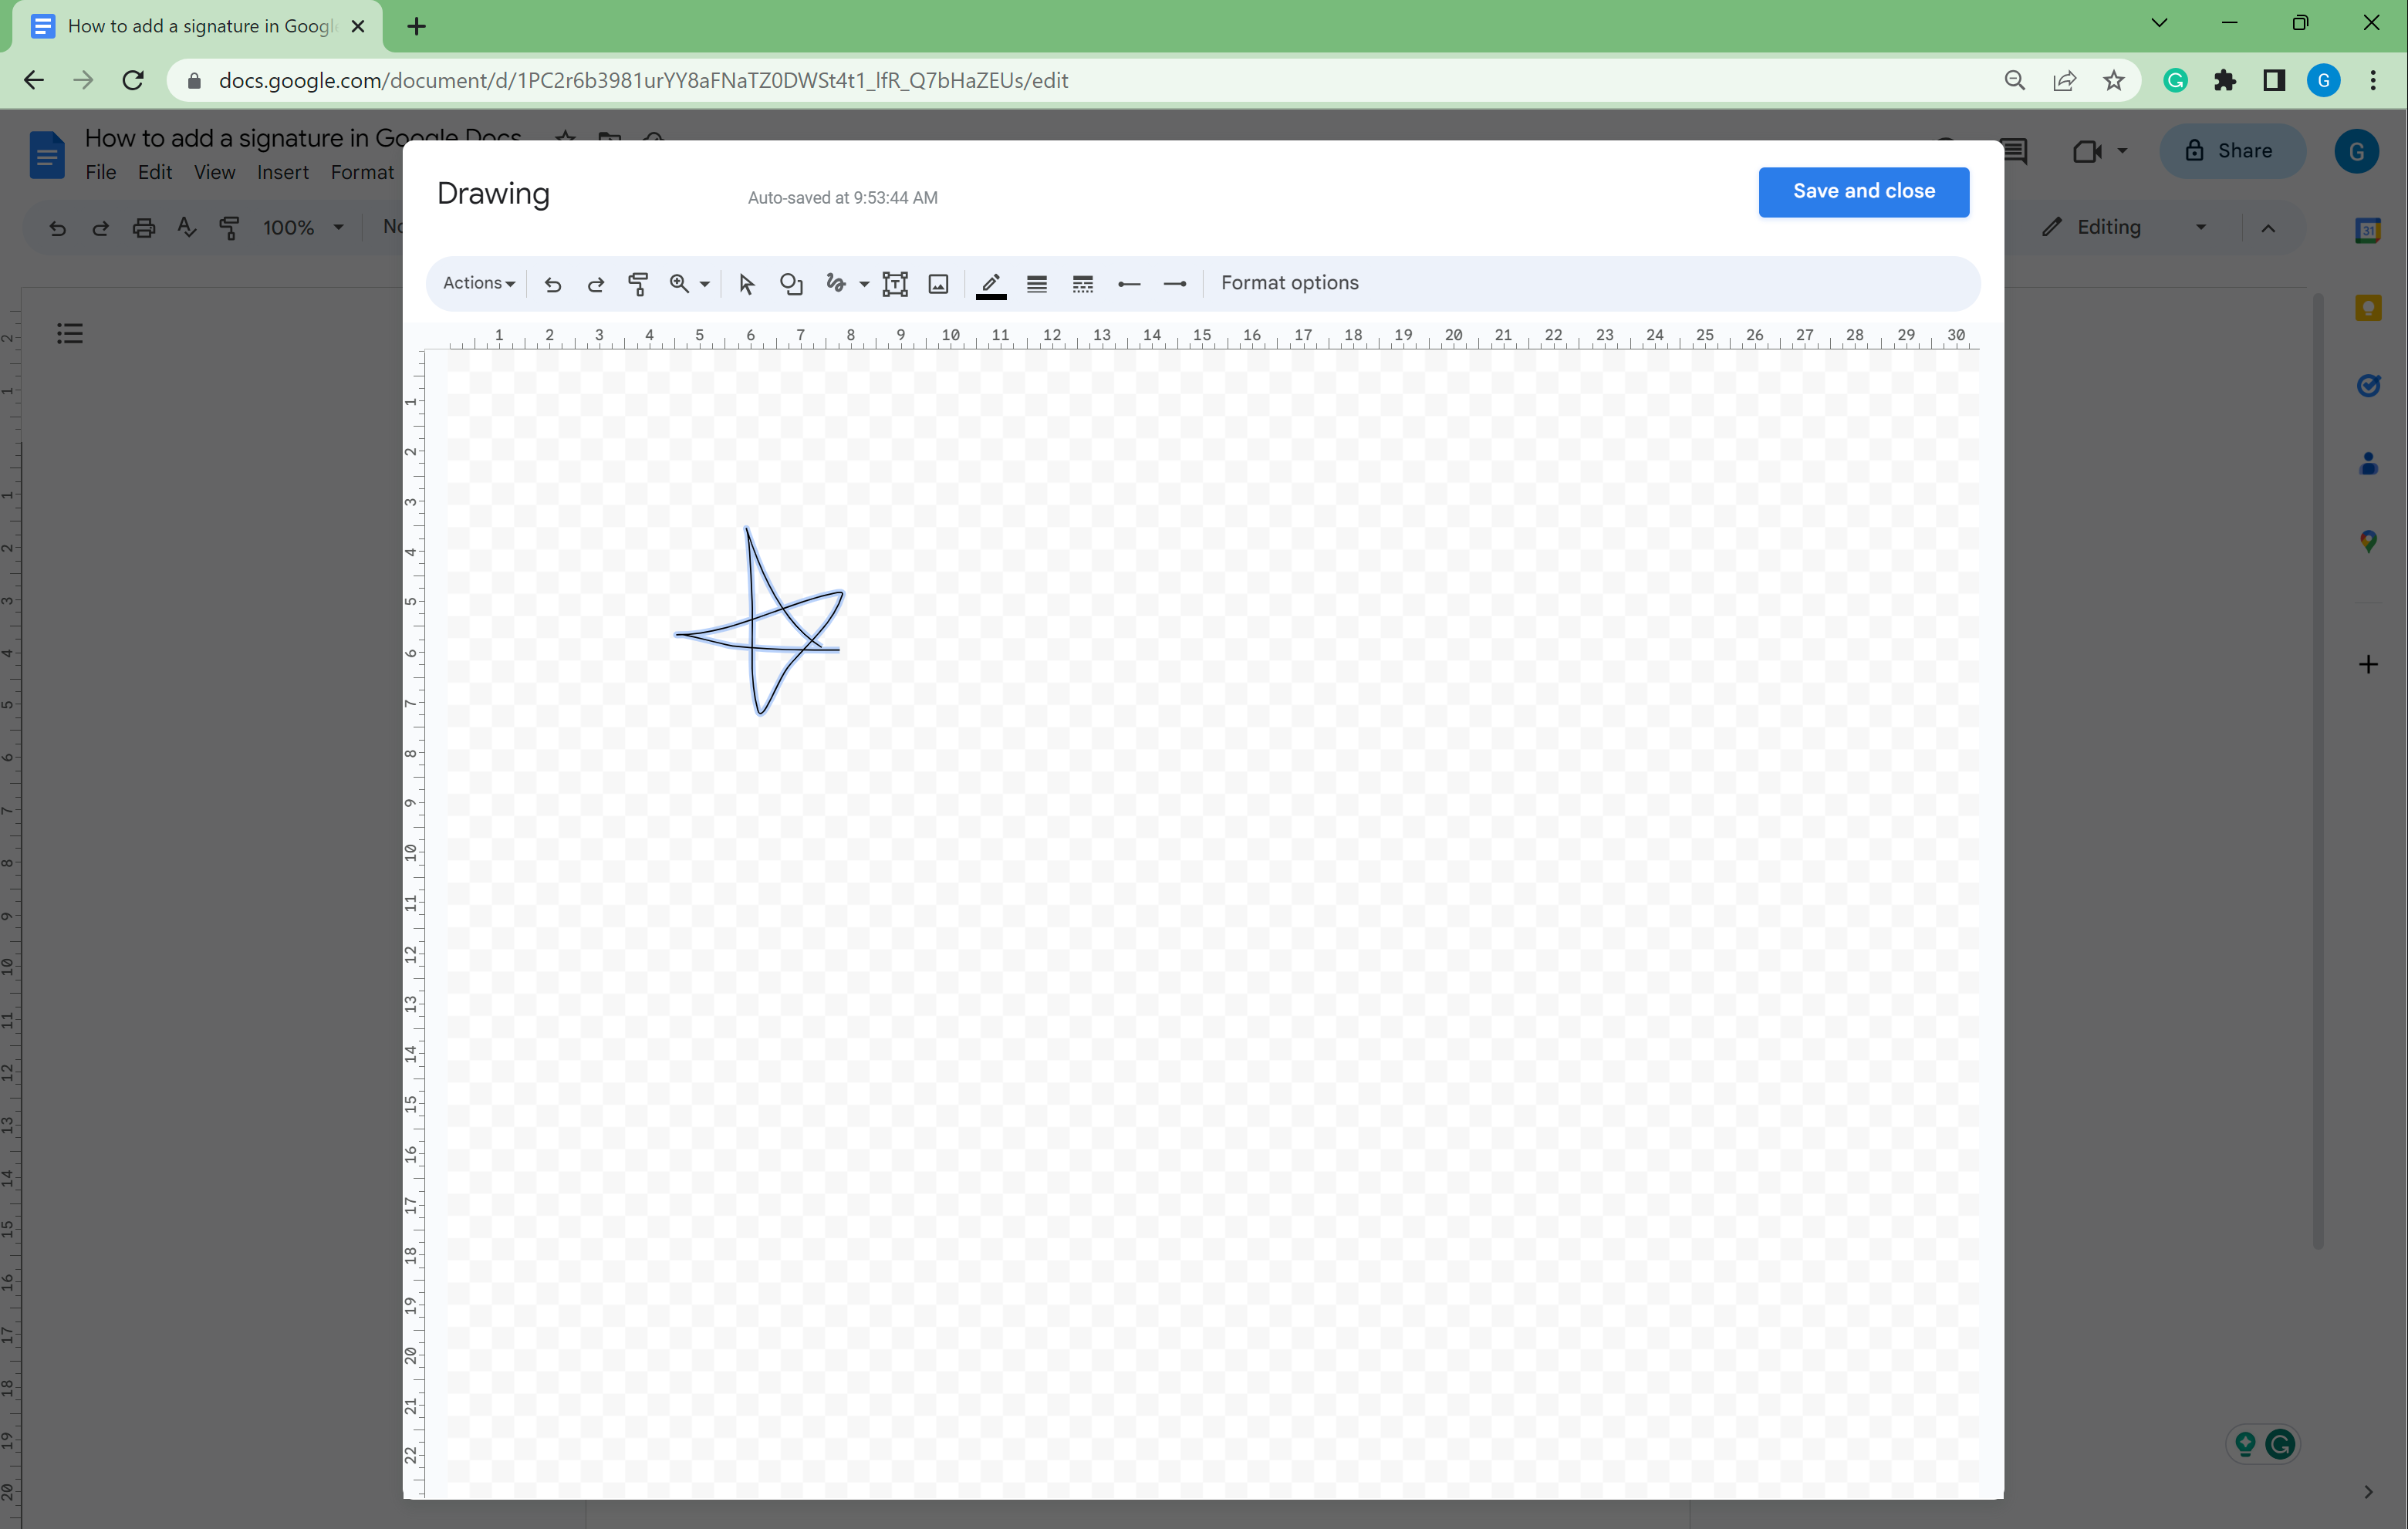
- Draw your signature
- Click Save
- Move your signature as needed
-
Step
1Open a page in Google Docs

Make sure you are logged into your Google account. Open up a page in Google Docs.

-
Step
2Click Insert

From the top menu, click on the Insert button.

-
Step
3Go to Drawing

Scroll down to the Drawing button.

-
Step
4Click on New

Select New from the drop-down menu.

-
Step
5Click on Scribble

Click on the small arrow in the top menu and select Scribble from the drop-down menu.

-
Step
6Draw your signature

Draw your signature. This can be done with a mouse, stylus or your finger, provided that you have a touchscreen device. You can edit your signature’s line and weight if needed.

-
Step
7Click Save

Once you are happy with your signature, press the Save button.

-
Step
8Move your signature as needed

You can move your signature around the screen or copy it into different Google Docs as needed.

Troubleshooting
Yes, you can keep your signature saved in a Google Docs page and copy and paste it into other Doc files as needed.
The post How to add a signature in Google Docs appeared first on Trusted Reviews.
from Trusted Reviews https://ift.tt/hZ87JGY
via IFTTT


Comments
Post a Comment